
HOW TO CONNECT THE DEVICE TO YOUR NETWORK (FIRST USE)
If you bought your device from us, it comes pre-flashed/configured, but you still have to connect it to your wireless network the first time you use it (the procedure is the same if you want to change networks).
So, plug in your device to a USB port to power it on. Almost all powered USB ports will do (the device has a very low consumption, usually less than 1W), so you can even plug it to a TV USB port, for example.
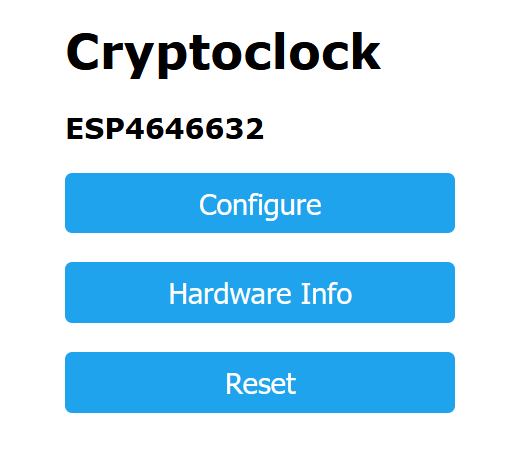
Once the device has loaded (give it a couple of minutes), and if no known WIFI network is found, it will create a WIFI network named “ESPxxxxx” (and display its name, along with a prompt to join). All you have to do now, is connect to that specific WIFI network through your phone/tablet/PC, and type in your WIFI credentials (5Ghz networks are not supported, that’s a hardware limitation).
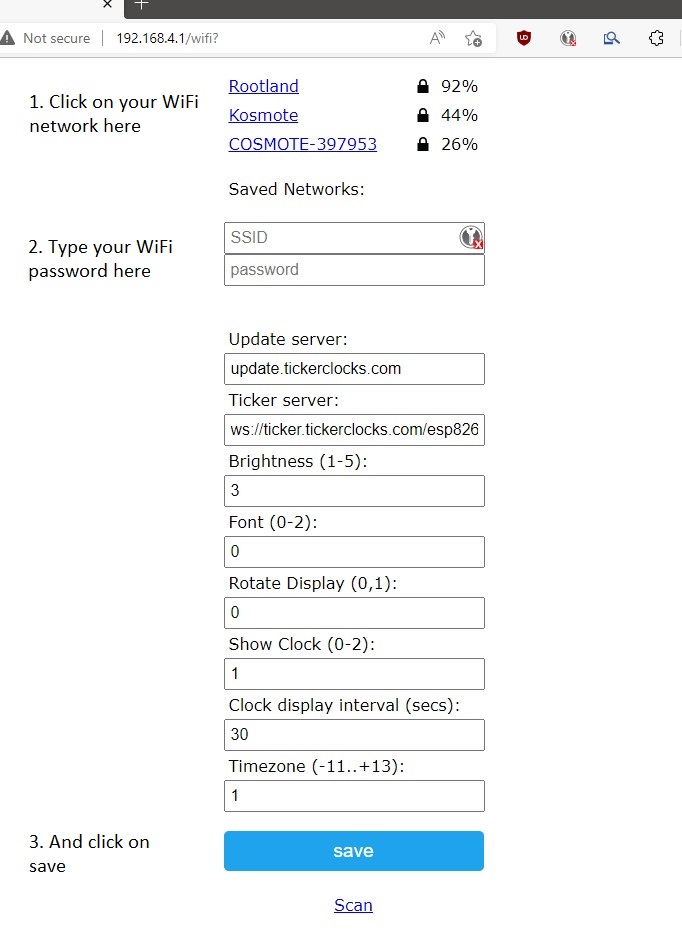
To do that, please follow these instructions (if the web-config page does not open up automatically as it should, you can access it at 192.168.4.1):
Click on “Configure”:
And a list of the available networks will be shown (along with some other basic self-explanatory settings), and an option to rotate screen if needed. Now, all you have to do is choose your own, type your WIFI password, save it, and you are good to go. The device will restart, and it’s now ready to pair.
Your device will reboot, and connect to your own network. Now, it’s time to pair it.
PAIR/ADD YOUR OWN TICKERS/MODIFY DISPLAY
It is of course possible to customize all the info displayed to your liking, but you have to pair your device with the our’s website first. Doing so isn’t hard though, but you have to gain access to the internal parts of the display, and specifically, the microcontroller (buyers of the screw-less versions are in luck here, as there are no screws involved – remember not to over-tighten those screws when putting them back).
The process is as follows.
- Go to www.tickerclocks.com/my-account, and register an account.
- Once ready, go to Build your own > Configure Devices.
- Locate your device’s controller, and briefly press the “Flash” button (it’s on the upper side, right next to the microUSB port. The display should now show “OTP”.
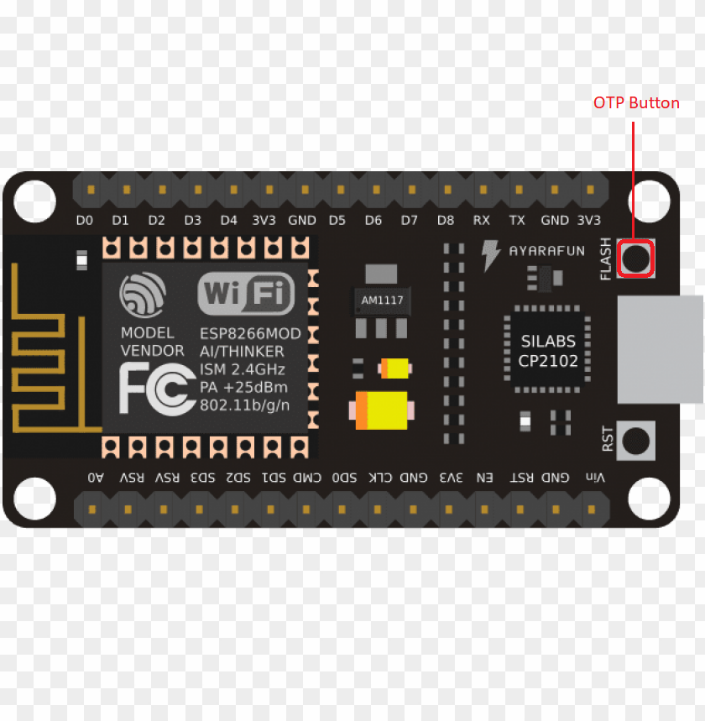
- Now press the button once again but now for about 3 seconds. You should see your PIN. Type it in the field shown in the webpage, and click on “Link device”.
- That’s all, your device will now restart, and it should appear in the relative section of the website! From there, you can modify it to your liking (ex. Change the default BTC/USD ticker to something else, add other scrolling tickers, choose whether the current time will be displayed and for how long, etc).
Now, feel free to go wild with the customization settings. The device will update all info automatically, and also itself, if a newer firmware version is found.
Remember to keep your device indoors, or protect it from high temperatures/direct sunlight exposure, as things could go awry very quickly.
If you ever want to exchange the USB power cable, make sure not to stress the Micro-USB female port (hold the port down on the board, while making small side movements to remove the cable). Those ports are known to be universal, but not so robust.